
Exchange Online: Blocking email from specific domains
Sometimes you just want to reject emails from specific domains outright.


I get a lot of spam to my company's email domain. Generally this gets caught up in the quarantine, and malicious payloads get blocked, but messages in quarantine still get flagged to me for review. Reviewing those emails is not something I want to do, and I can ensure the quarantine never gets the email by rejecting it in the first place.
Note this is not useful for blocking spammers that use general domains (gmail.com, outlook.com etc.) as you'll be forever adding email addresses to a block list. These instructions are for blocking domains that my company never wants to hear from.
Exchange Transport Rules
Exchange Online is Microsoft's cloud-hosted email solution, used by hundreds of businesses, governments, health providers, and charities. How email is handled in your organisation's instance of Exchange Online can be controlled by Transport Rules.
Each transport rule has a set of conditions. If a message coming into, or leaving, your environment meets these rules then Exchange Online will take the steps outlined in the rule.
How to block a domain
In my case, my company regularly receives emails inviting me to sponsor "corporate golf days". Not only do I have no personal interest in golf ("a long walk spoiled" - allegedly something that Mark Twain once said, but unlikely actually him), my company is also not in the financial position to sponsor a golf day.
You'd think the sender would give up, given I've never replied and their emails already go to quarantine for spam. Sadly I still get emails from users at corporategolfday.info. The time has come to just reject their emails outright.
First, login to the Exchange Admin Center (sometimes called the Exchange Management Console), currently at https://admin.cloud.microsoft/exchange#/ .
On the left hand side, expand Mail flow and select Rules.
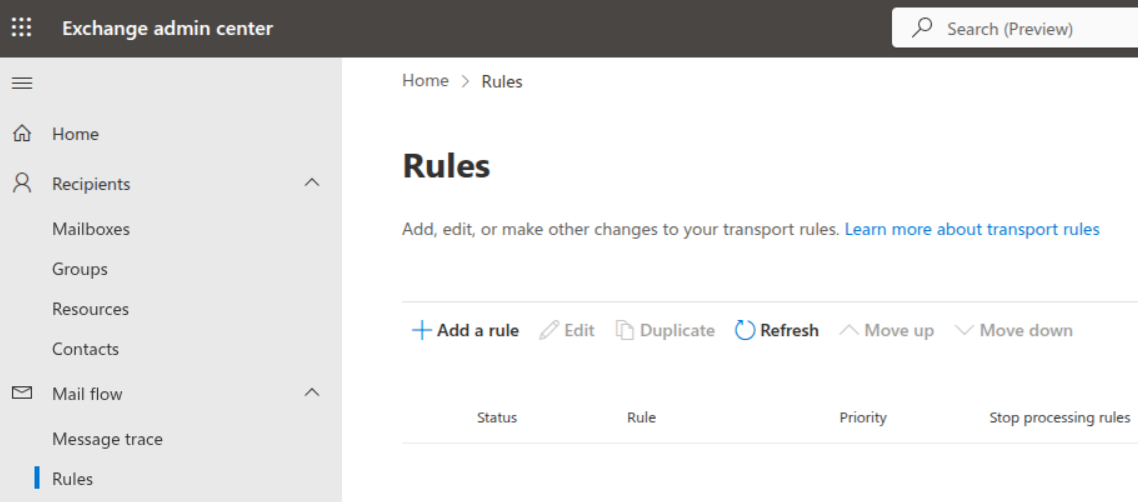
Click + Add a rule which will provide a drop down menu with some pre-configured options. We will pick Create a new rule from the top as none of the presets help us.
Set rule conditions
Next we are shown the New transport rule modal and the Set rule conditions page. As you click on drop down options there will be fly outs from the right that ask for your input.
- Specify a meaningful name, I went with
Block-Email-By-Domain - Under Apply this rule if I set:
- The Sender is external/internal = "Outside the organization"
This shows as "The sender is located 'NotInOrganization'" after clicking save - Click the plus symbol to add a another condition
- The Sender domain is
corporategolfday.info
This shows as "The sender's domain is 'corporategolfday.info' " after clicking save
- The Sender is external/internal = "Outside the organization"
- Under Do the following choose:
- Block the message
- Reject the message with an enhanced status code of
5.7.1
- Do not specify any exceptions under Except if
Which looks like this:
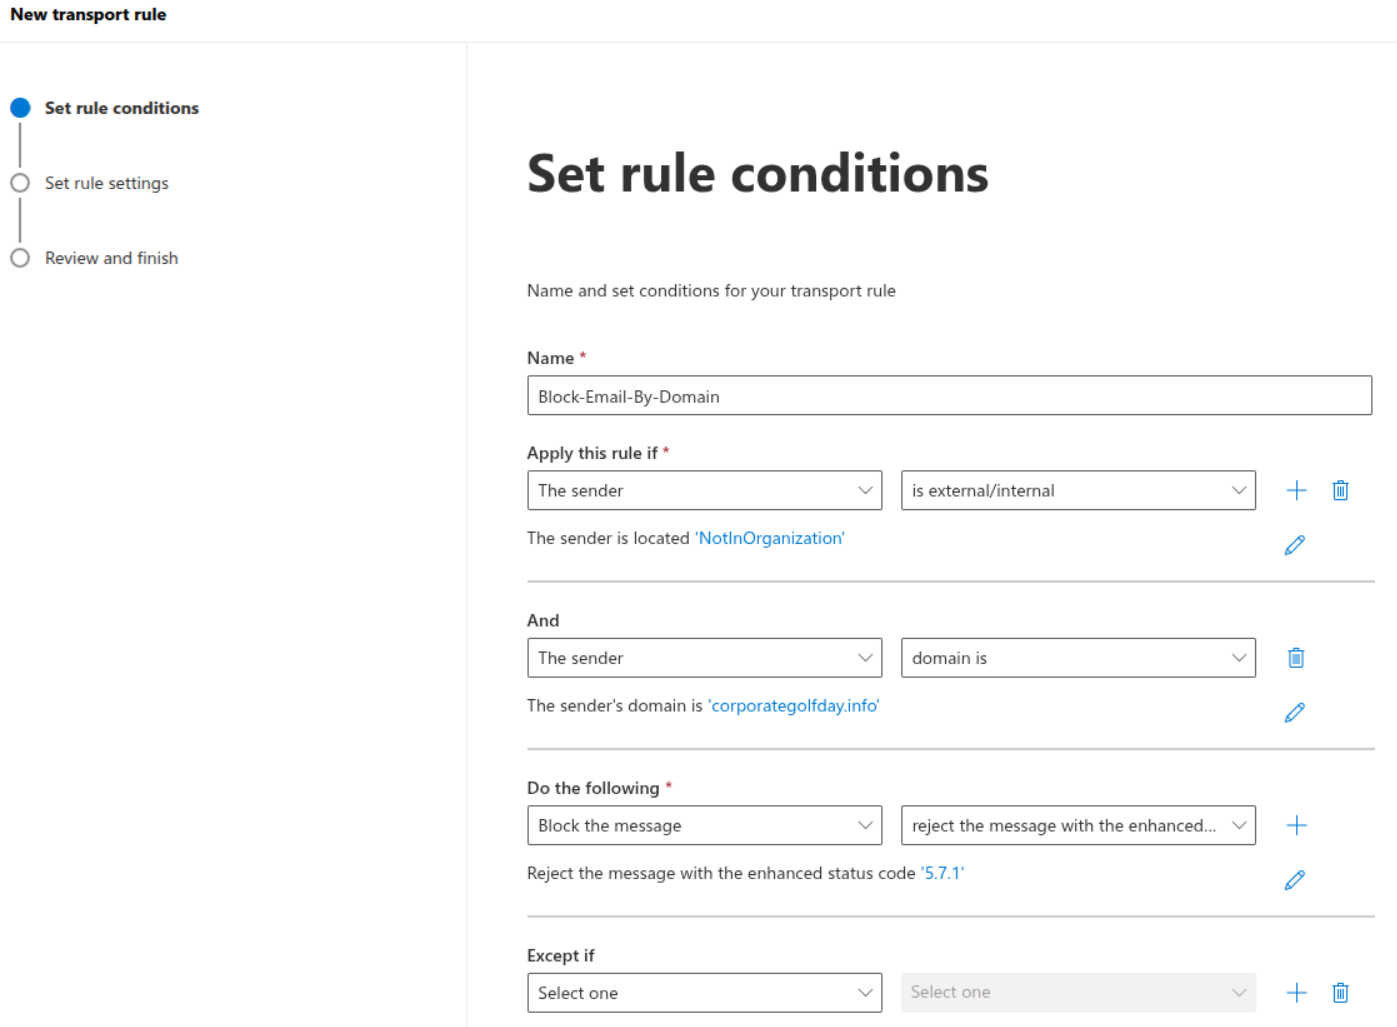
Click Next.
Set rule settings
The Set rule settings page is displayed. Set the rule mode to Enforce with a severity of Low (unless you feel differently!).
As I want this rule to be effective immediately, and to run indefinitely, I wont' set dates for activate this rule on or deactivate this rule on.
Tick Stop processing more rules as there's nothing further to do given I'm rejecting the message.
Set Match sender address in message to Header or envelope.
Add a comment as appropriate.
Before you click Next you'll have a screen that looks like this:
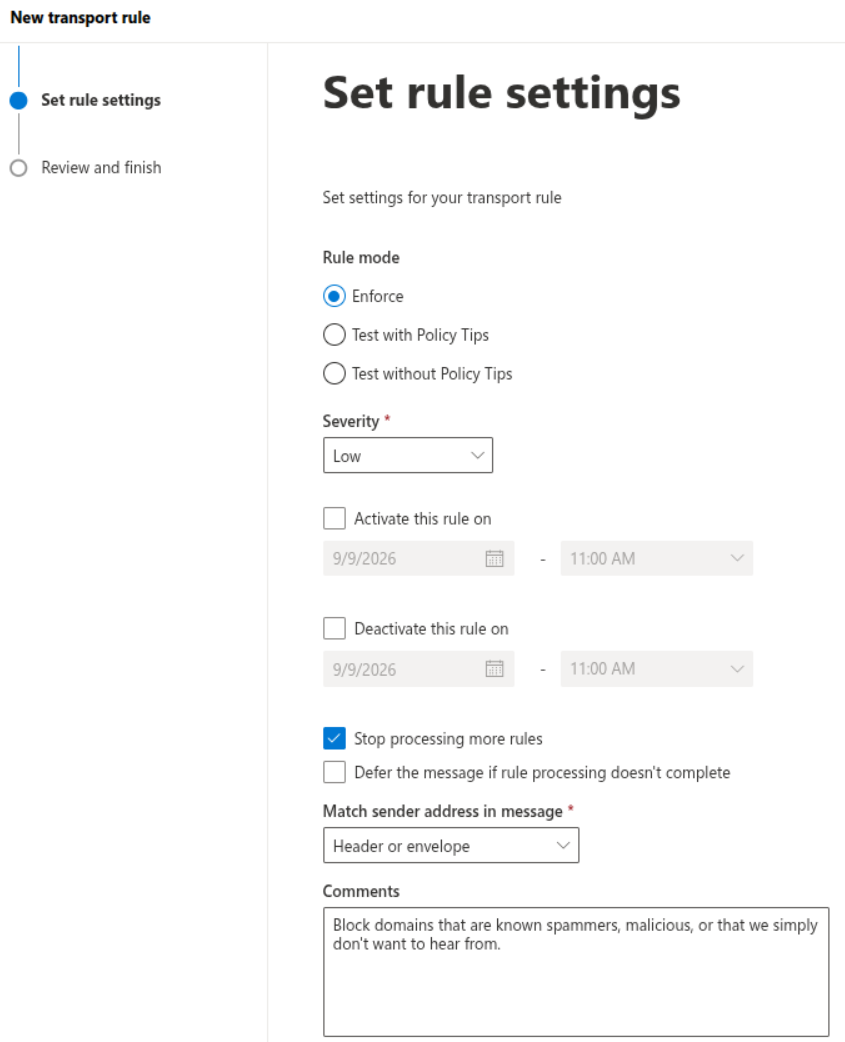
Click Next.
Review and finish
On the Review and finish page you can check everything is as desired.
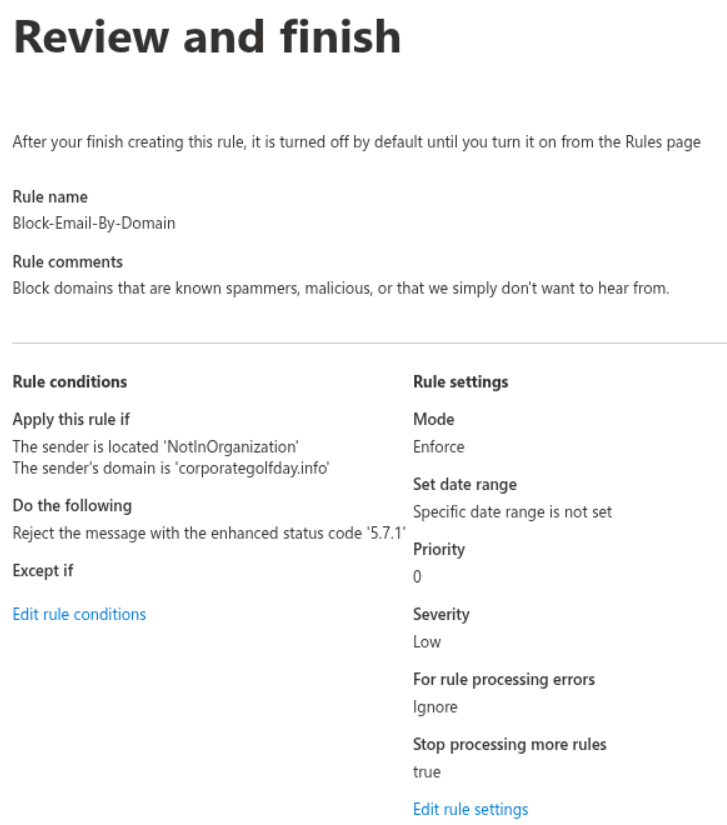
Go back and make changes if necessary, or click Finish.
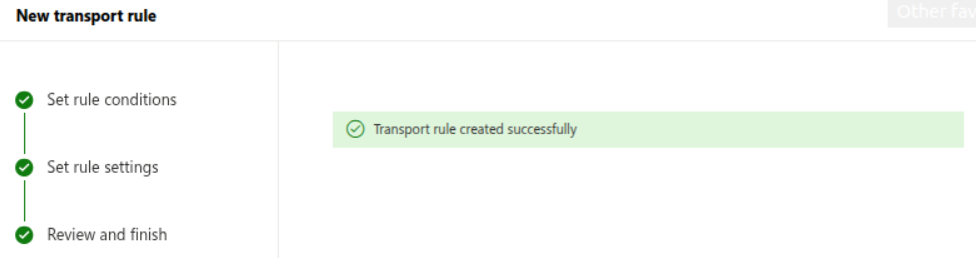
You'll be told the transport rule created successfully. Click done at the bottom of the screen to return to the rule list.
Enable the rule
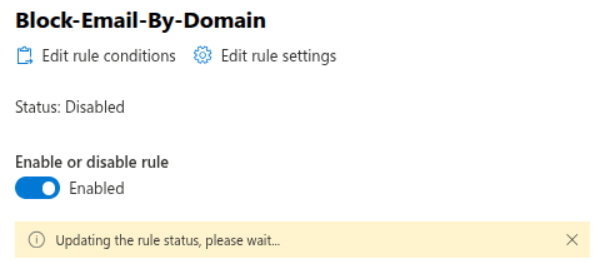
By default, Exchange Online will create the rule in a disabled state. Click on the rule and a fly out will appear from the right hand side. Click the toggle for Enable or disable rule to Enabled.
You'll be told the rule status is being updated, and then that it was updated successfully.
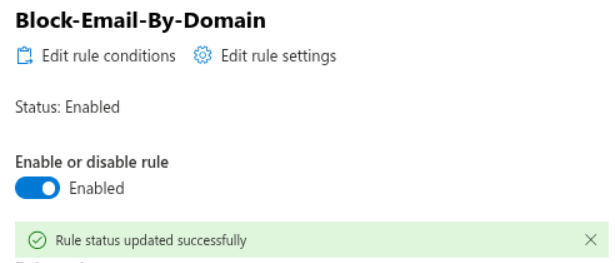
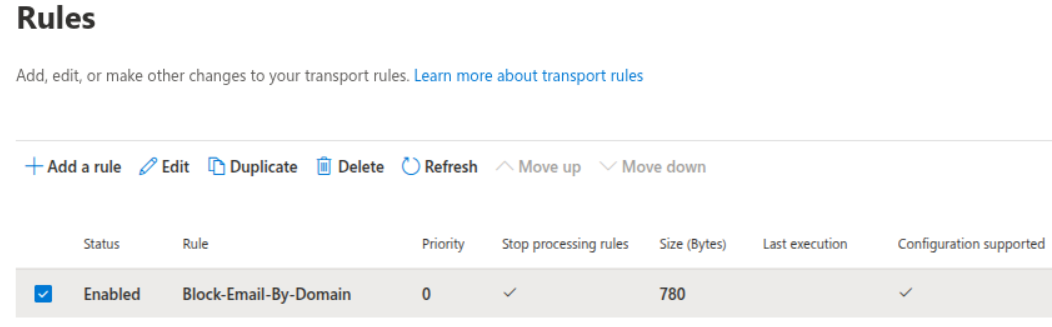
You can now close the fly out, and you should see the rule is enabled.
On rule priorities
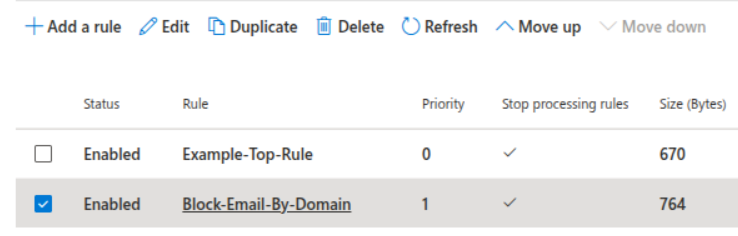
If you have a number of rules, you likely want this rule to be at the top (highest priority, lowest priority number). To move the rule:
- Click the rule in the list
- From the toolbar choose ^ Move up
- There will be a delay while the rules are reordered
- Repeat as necessary
Alternatively, if you have a lot of rules:
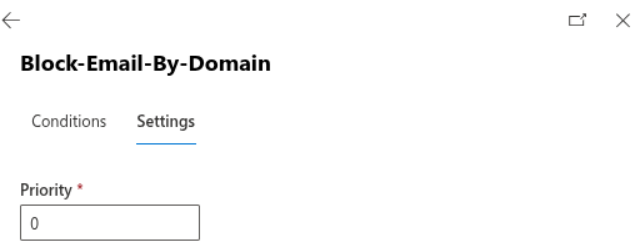
- Click the rule in the list
- From the fly out on the right, click Edit rule settings
- Set the priority to the desired number, 0 in my case
- Click Save
- You'll be told the rule is saving, followed by confirmation that saving was successful
- Close the fly out by clicking Done
I want to block more domains
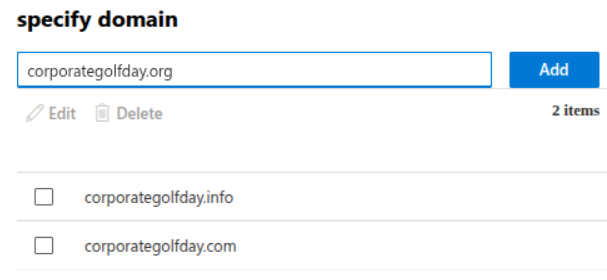
You don't need to create one rule per domain, you can add domains to your existing rule.
- Click the rule in the list
- From the fly out on the right, click Edit rule conditions
- Locate the "The sender domain is" condition and click the pencil icon

- In the specify domain box at the top, type another domain to block and click Add
- The extra domain(s) will appear in the list
- Click Save
- Click Save again so the rule is updated
- You will be told the rule was saved successfully
- Close the fly out by clicking Done