
Transferring data from a miniDV camcorder using Linux
Transferring data from old media is getting increasingly difficult.

At church we've got a relatively old camcorder that we used, pre-Covid times, to show baptisms via our projector. In October I had the privilege to staff at a wedding and the bride and groom asked if we could film the proceedings so the video could go to those unable to attend due to pandemic restrictions.
This post serves as much as a reminder to me as instructions for those trying to do similar.
First up, "miniDV tape"?
I grew up when VHS ("Video Home System") tapes were the normal medium for watching films at home. Much like an audio C90 cassette tape, video tapes comprised of a spool of magnetic tape onto which data was stored. I won't go into the actual science of it (I'm not qualified to) but you can read up on how that worked online.
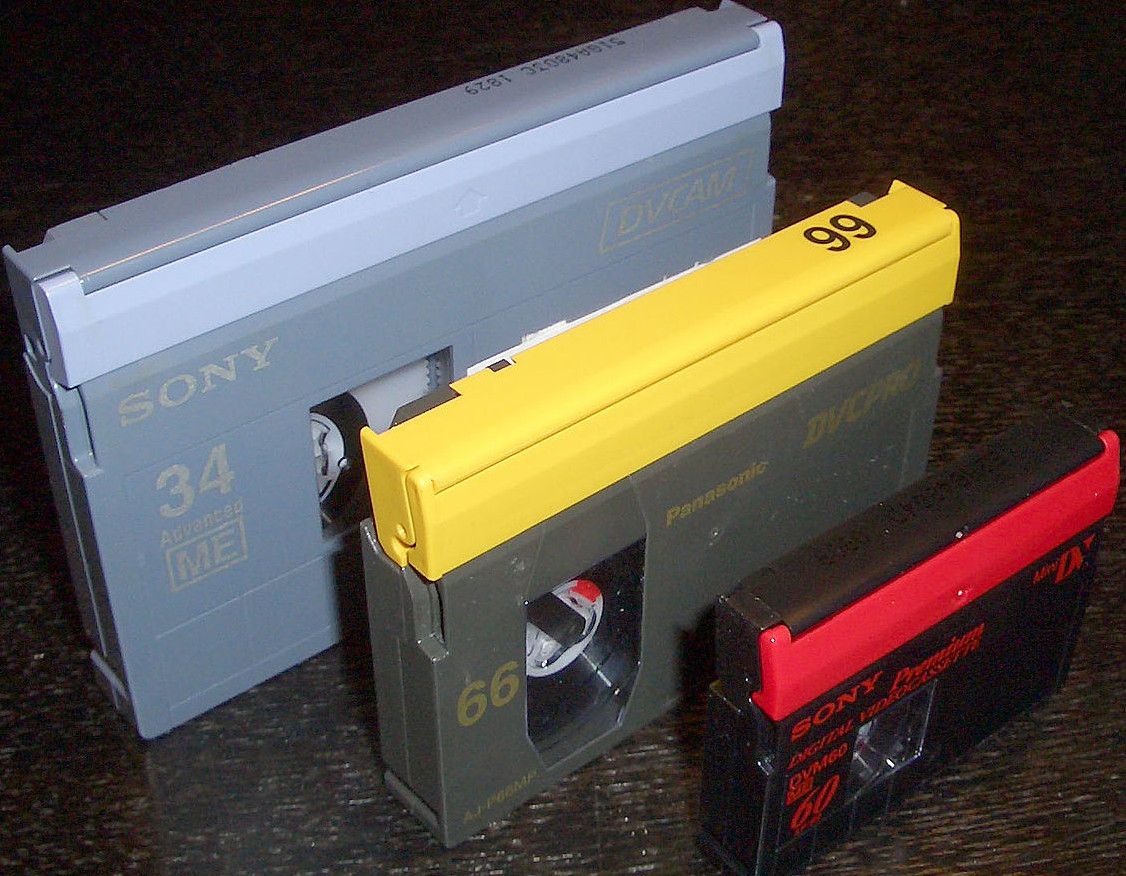
While VHS and audio cassettes were analogue, DV cassettes used a digital format. Wikipedia tells me the video used a lossy compression whereas the audio was stored uncompressed [1]. You can see what a miniDV cassette looked like in the banner image at the top of this post - miniDV the smallest one at about 5 centimetres wide.
Connecting the equipment together
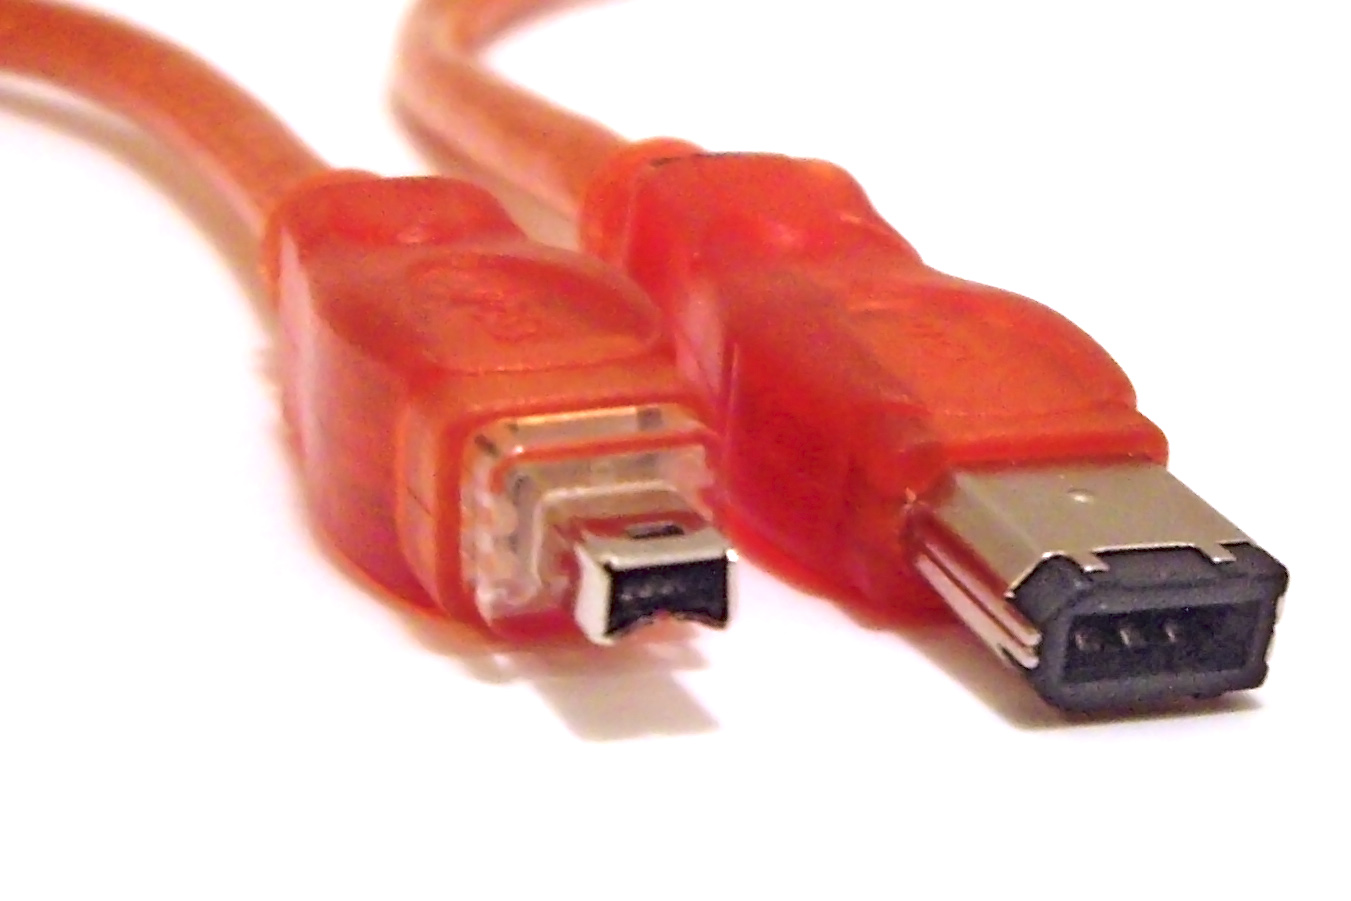
So long as you've got data stored you can generally transfer it somewhere else, and that's what I was relying on. I had no idea how to get the footage off the tape so I had some digging to do. One connector option was S-video - no good, as there'd be no audio. A miniDV connector was hidden under a flap and looked to be the best option. A quick search showed I could buy a miniDV to USB cable for about £7, however, reading the reviews suggested this would not work. Fortunately though, a miniDV connector is actually just four pin IEEE 1394, also known as FireWire. A full size FireWire connection has six pins and used to be found on some Apple Macs and more media orientated equipment back in the mid 90s and early 2000s - I remember installing it on the media computers at the school.
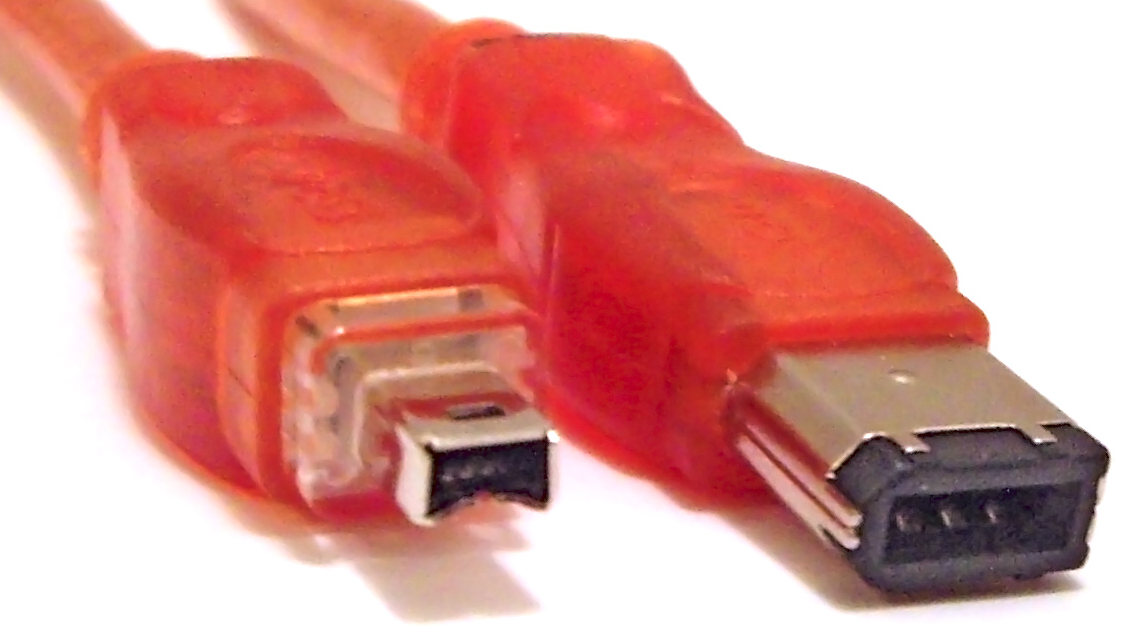
Neither my PC nor my laptop have a FireWire / IEEE 1394 interface which, as one site I found while researching put it, was "so good it's not made any more". FireWire largely bit the dust with the advent of USB 3 and Thunderbolt connectors and was hampered by Apple's high licencing fees. I bought a FireWire card for about £17 and fitted it into my PC - it was recognised by Ubuntu without any messing around. The card even came with a four to six pin cable - bargain.
Transferring the data
To transfer the data I was going to need dvgrab. Once I'd got the video file on my computer I could use ffmpeg to adjust compression and join the files together, as by default dvgrab splits the file up. I'm using Ubuntu 20.10 and I installed those packages like this:
sudo apt install dvgrab ffmpegAfter winding the miniDV tape to the right place (the start of the wedding) I used dvgrab to transfer the footage to my PC. Note that dvgrab can actually start and stop playing the tape itself - a nice surprise:
dvgrab --autosplit --format dv2 dvgrab-The above line tells dvgrab to split the file when it needs to (after about 1GB) and sets the format accordingly. Using dvgrab- as the final argument means to create files with a base name of dvgrab with a number after them: dvgrab-01.avi, dvgrab-02.avi, ..., dvgrab-10.avi (you need the dash to get the number). In theory my video name of LizAndSteve- should have been accepted but I kept finding I only got one file and that it kept being overwritten. To start with I'd also specified the --timestamp argument and that may have been the problem (all my timestamps seemed to be 2008-01-01 00:00:00).
Note at this point that footage is transferred in real time. The wedding was 46 minutes long so it took 46 minutes to transfer to the PC.
Combining the files
Giving the happy couple a series of 1GB files at around four minutes long each was going to be a poor solution. I needed to join the files together. ffmpeg is our friend here. Before starting the combining process we need to create a text file (wedding.txt) containing a list of the files that we want to combine, in order:
file 'dvgrab-01.avi'
file 'dvgrab-02.avi'
file 'dvgrab-03.avi'
file 'dvgrab-04.avi'
file 'dvgrab-05.avi'
file 'dvgrab-06.avi'
file 'dvgrab-07.avi'
file 'dvgrab-08.avi'
file 'dvgrab-09.avi'
file 'dvgrab-10.avi'(Note that you need to start the line with file and that the file name should be enclosed in single quotes.)
Next we use ffmpeg to combine the files. Check ffmpeg's manual for details on what the options do:
ffmpeg -f concat -safe 0 -i wedding.txt -c copy LizAndSteve.aviThe result was a 10GB file.
Compressing the video
We can use ffmpeg again to compress the video without losing much quality (I didn't notice in my test run). In my case I opted to change from AVI to MP4 using the h264 video codec and MP3 for the audio:
ffmpeg -i LizAndSteve.avi -deinterlace -vcodec h264 -acodec mp3 LizAndSteve_compressed.mp4Acknowledgements
During my research to find out how to do this I came across instructions from Christoph Pallier, whose nice and clear guide helped me get the footage off the camcorder. Instructions from Mattias Geniar showed me how to combine the AVI files into a single video file. Thanks to both of these folk for getting me going.
Banner image: DV tape sizes from Wikipedia
[1] https://en.wikipedia.org/wiki/DV
[2] https://upload.wikimedia.org/wikipedia/commons/f/f7/FireWire_cables.jpg